5
Coins / min
BOOK TRAINING
TRAINING REQUIRED
Training required for this device.
- CO2, fiber and diode lasers for cutting and engraving
- Unsurpassed engraving speed
- Working area 726 x 432 x 165 mm
- Ideal for individual pieces or the production of larger series
- For personalization, education and industrial applications
Specifications
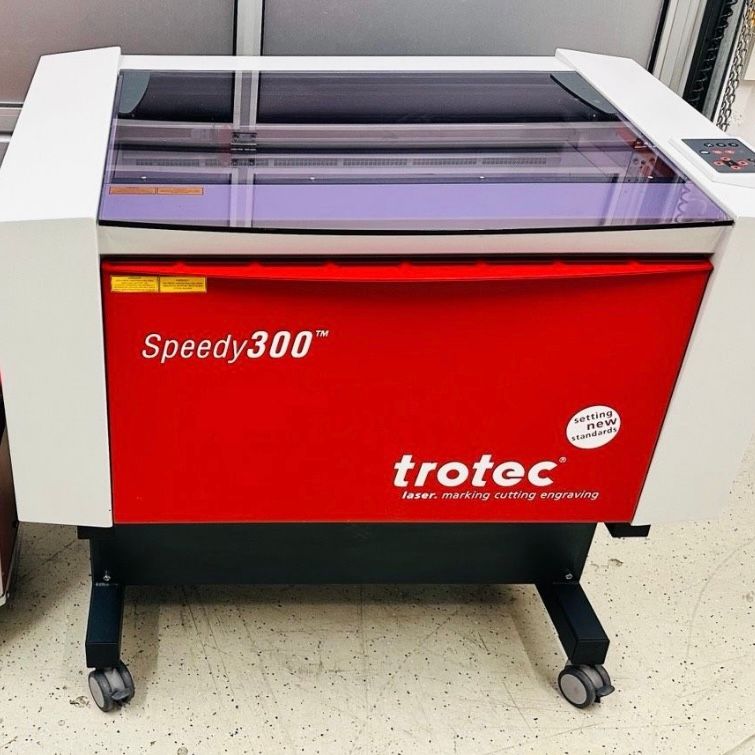
- Model name: Trotec Speedy 300
- Laser power: 60W
- Working area: 726 x 432 x 165 mm
- Feed: max 2800 mm/s
- Resolution: up to 1000 dpi
Safety Notes
A CO2 laser should never be used on materials that, when heated, release toxic gases (such as hydrogen chloride or hydrogen cyanide), acids or harmful dust, as this poses a health risk and will destroy the machine. Particularly dangerous materials are PVC, PTFE (Teflon), polycarbonate (PC), ABS, carbon fibers (Carbon) and chrome-tanned leather
Before each use, the device should be checked for visible damage. You should also look in the work area to see if there are any remains of the last operator.
Wiki from Happylab Vienna
(German)
Software & File Formats
- At the machine
Hold the membership card to the card reader (Fabman) - Close the lid of the laser cutter
- Wait for reference travel (duration approx. 40 seconds)
- Open the lid, insert the material
Always insert the material in the top left corner. - Move over the material with the arrow keys
Set the focus with the focus tool and the table up button. Move up until the focus tool touches the material and falls over - Define starting point with the arrow keys
- Close the lid
Ruby - Import your own design in design mode
- Check that lines have the correct colors and thicknesses, as well as that the size of the design is correct
- Cutting -> Red lines with width 0mm
- Cracking -> Green lines with width 0mm
- Engrave -> Black lines, filled
- Shapes or images in grayscale, lines must not be 0mm wide.
- Adjust the size of the design using a button.
- Create job and switch to prepare mode
- Choose the right material
- Carry out a test cut with one of the test designs
- Adjust material settings if necessary
- Click Send to Laser to put job in the queue.
- Press the start button
Maintenance
- You will be shown how to carefully clean the lens in the training.
- Please vacuum after work